Friday, August 16, 2013

Bike Rides and the Nikon D40X

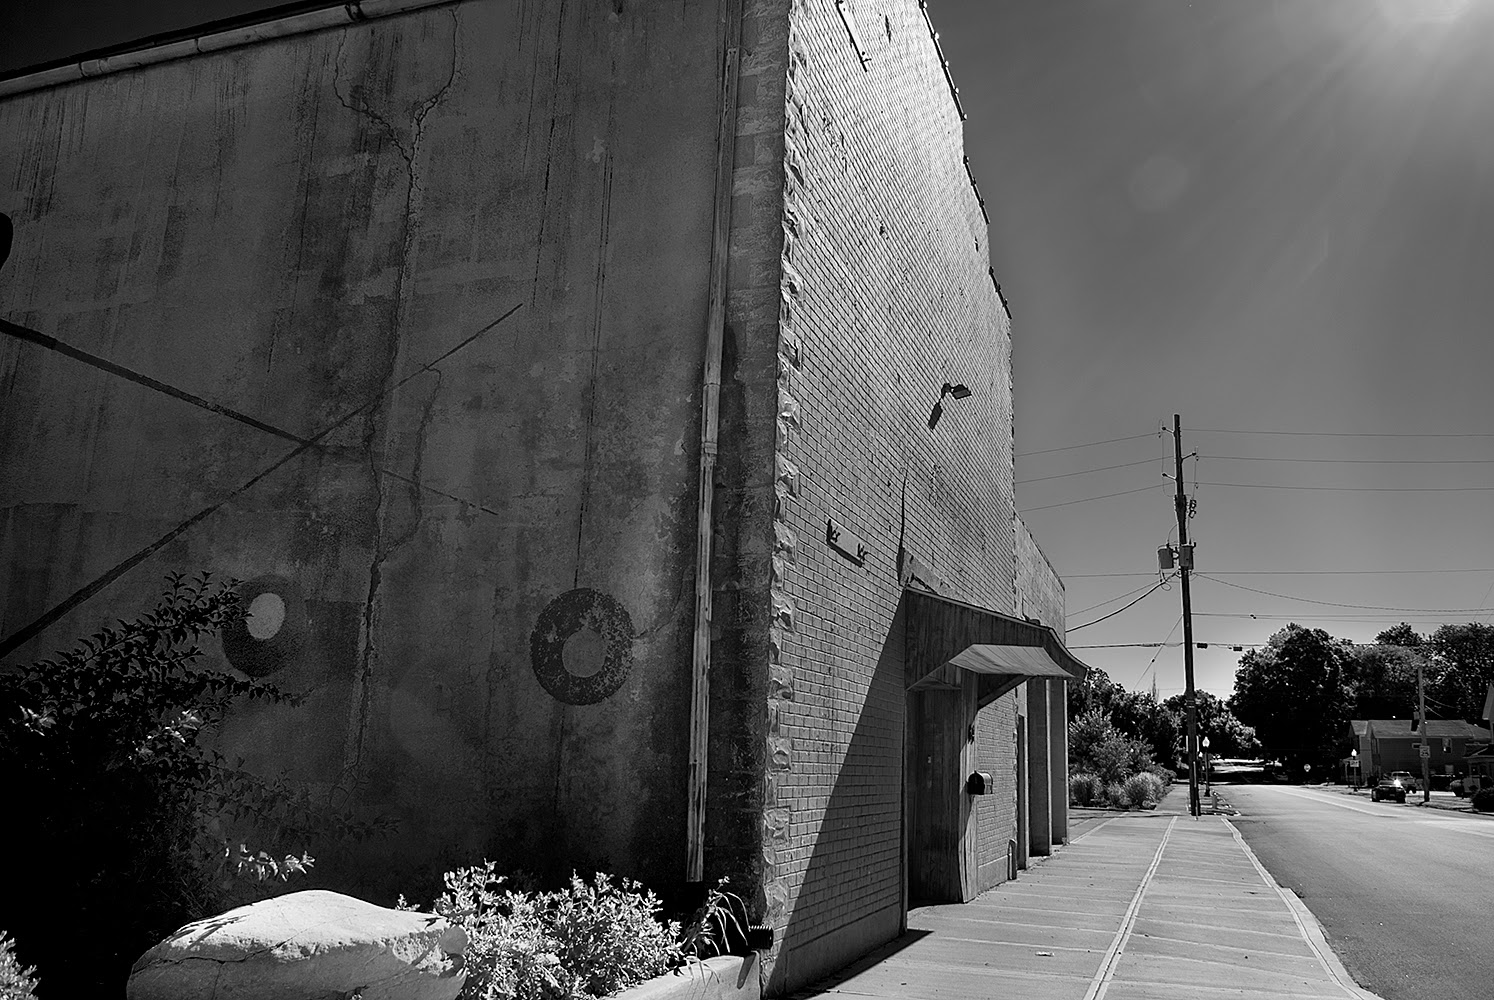
Recently I started riding my bike again and as one who likes to have a camera with me and not wanting to put my big expensive pro camera at risk, I decided to strap on my old Nikon D40x.

The D40x is a 10 megapixel consumer model that is about a third the size of my D3s. It doesn't have a front finger wheel to change adjustments and the colors tend to be just a bit saturated. The shutter mechanics are also very different than the D3s. It's almost like there is just a bit of a delay from the time you push the button to the time the shutter fires. Another problem is, when in manual mode you have to change the aperture by pressing a button that is in the most awkward place and then move the thumb wheel. (I usually put it in shutter or aperture priority depending on what I'm shooting because of this). It also has no internal motor so most of my lenses have to be used in manual focus, which is not a big problem for me because I tend to manually focus most shots anyway.

All that being said I've had a blast shooting with this thing. especially while going down the trail as fast as my feet can peddle and firing off a shot at a slower than normal shutter speed. I've also tried some narrow depth of field stuff. I've even shot some to convert to black and white with great results.
Here are some of my results:


I've put more pics up on flickr  and will be posting more.

Knowing your camera and it's limitations can help you get some great shots regardless of any perceived shortcomings it may have. I try to turn those shortcomings into opportunities to be creative.

Here is the link to my flickr account to check out some more of my stuff:


Tuesday, August 13, 2013

Brooks Institute MFA Program

I was recently accepted into the Masters of Fine Arts for Photography at the Brooks Institute in Santa Barbara, CA. For the next couple of weeks I'll be packing up and heading out to California so I won't be posting much here at all after the 26th. I plan on taking some old film cameras in the car with me and plan on shooting the whole trip. I'll be posting some of that here after I get to California.

I'm looking forward to getting there and working with the faculty and other students at Brooks. I also plan on posting a lot on this blog as a record of my time there.

Thursday, August 1, 2013

August Quick Tip Shutter Speed

This months Quick tip is on hand holding and shutter speed. Most people push the limit on the slowest speed they use. If your subject is not moving or if you're shooting with flash it's not that much of a problem, but if you're shooting in low light with a lot of movement you're better off opening up your aperture and cranking up your ISO a bit to compensate and set your shutter speed an leave it alone.
If you're hand holding your slowest speed should be 1 over the focal length of your lens or 1/60th of a second, which ever is faster. So if you're shooting with a 300mm lens then your slowest shutter speed should be 1/300th of a second. You can push this a little as long as you have a stable holding technique. 

1/60th is the slowest I'll go unless I'm doing something special or  I'm purposely trying to get some motion blur and when that's the case I'm going a lot slower than 1/60th.

So for this quick tip, if you're in low light situations use shutter priority or manual and set your shutter to the lowest speed for hand holding and adjust your exposure with aperture and ISO.

Monday, July 29, 2013

Auto vs Manual

Cameras and lenses these days come with all kinds of advantages for the average photographer. I can set up my camera to all auto, put on a flash and give it to my wife and she could get some good pictures where the subjects are properly exposed and for snapshots they would be great... But as professional photographers we need to get the most out of our cameras and one way to do this is to shoot manually. Now I'm not saying that I don't use auto sometimes, but I shoot in manual mode more often than not. I learned how to shoot manually when I shot film and have carried it over to digital. 

It's not that hard it just takes practice, but once you get into the habit you'll be amazed at how fast you can be shooting manually. For one thing you'll be able to focus on what you want instead of the camera choosing. An example of this would be if your shooting a sporting event and your trying to get one player, but another player is in between you and your target player, the camera likes to focus on the closest thing. Well guess what, it's going to focus on the other player and your subject is out of focus. Another reason would be if you have a scene where the exposure is all over the place and you have several dark places and light places of different values. The camera is going to try to set that at an exposure that will average the whole thing but you only want a very bright portion exposed properly and you don't care about the rest. Setting the exposure manually can help you get that one part exposed properly.

Shooting manually gives you a level of control that auto won't. I'm not saying you won't get great pictures on auto, but if you want to really step up your photography shoot in manual modes and really control your camera, instead of letting your camera control you.

Thursday, July 25, 2013

Depth of Field

I've finished the depth of field article complete with images and before anyone complains about the color and focus, this was done very quickly to show the concepts of depth of field. I wanted to get this up quickly and I will be changing the photos as soon as I get some time to create better examples. I hope you find the article helpful.

Here's the link:

http://robertgainor.blogspot.com/p/depth-of-field.html

Tuesday, July 23, 2013

Depth of Field Article

I have the depth of field article written, I'm just waiting for the weather to cooperate so I can get some good example images. It's supposed to be clear tomorrow so I plan on going out and getting the shots I need. Sorry it's taking so long.

Sunday, July 21, 2013

Lighting Workshop Aftermath

We survived!!!

It was a great workshop and everyone learned something. I think one unfortunate thing was the weather didn't cooperate with us to well but we persevered in spite of it.

I know we covered a whole range of topics and hopefully we answered everyone's questions but there were some questions on depth of field that I'll be covering here in a future post. I'll be shooting some examples over the next couple of days to help with the explanation. Hopefully this will clear up some of the confusion that I saw at the workshop.

I will also be getting a list of my equipment to everyone and where I bought it and how much I paid for it. Just remember that some of the speedlights that I use are very old and SHOULD NOT BE PUT DIRECTLY ON YOUR CAMERA. I use them mainly with radio triggers and off camera.

I'd really like to thank Melissa and Tyler for helping out. They were really helpful during the breaks discussing some of the information and answering questions for people. I'd also like to thank my wife Louise for putting up with me while we put this workshop together. I hope everyone had a great time and I hope you plan on attending our next workshop which we will be covering creative lighting. Look here and on Facebook for times and place.